Search FAQ / How do I connect my UNO Synth to the Editor in my DAW?
How do I connect my UNO Synth to the Editor in my DAW?
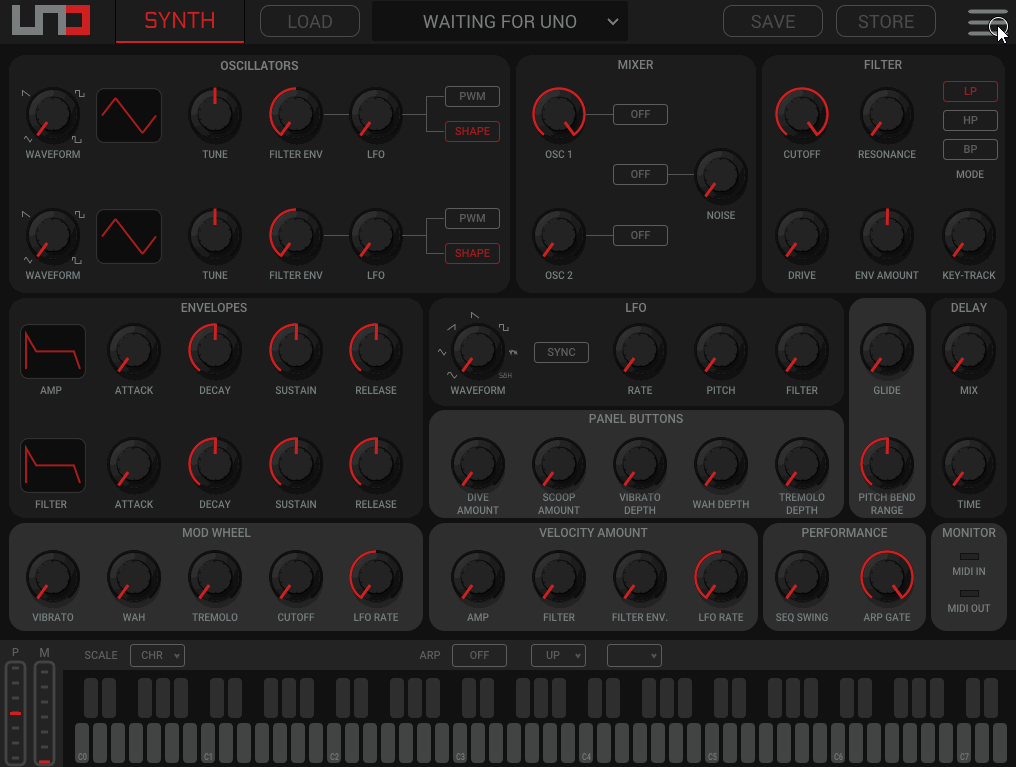
The UNO Synth Editor is a powerful tool for taking full advantage of your UNO Synth device's functions. Using the UNO Synth Editor you can fine-tune your Presets and Sequences accessing all of the available parameters of your unit. Keep in mind, your UNO Synth is also a MIDI controller. This means, you can use the UNO Synth to simply send MIDI CC or MIDI PC messages to your DAW to either record your UNO Synth performance, or control other instruments.
Important: The UNO Synth Editor will not produce audio. This is a tool meant solely for controlling your device. This is not meant to record your UNO Synth device's audio output. An audio interface would be required for any audio recording. The iRig Pro I/O is a great fit for users looking to record their performances.
Mac Users:
On the macOS, the connection process is quick and easy. To start, download the editor and make sure your firmware is up-to-date. From here you can simply load your DAW, insert the UNO Synth Editor, and connect your device using the Editor's Settings menu.
- Download and install the UNO Synth Editor
- Download and install the latest UNO Synth firmware update
- Load your DAW of choice
- Insert a MIDI track
- Add the UNO Synth Editor as a plug-in on this track
- Use the UNO Synth Editor's Settings to select your UNO Synth device

Important: On Mac, you will be able to use the UNO Synth Editor and your DAW to connect to the UNO Synth. If you want to send or receive MIDI from the UNO Synth to your DAW, outside of the Editor, make sure to enable MIDI input and output for the UNO Synth in your DAW's MIDI preferences.
Windows Users:
The process on Windows will be very similar. Download the UNO Synth Editor and latest firmware to get started. On Windows there is an OS limitation which allows only a single MIDI device can connect to an application at a time. When using the UNO Synth Editor in your DAW, any other program accessing the UNO Synth must be disabled or access to the UNO Synth in these programs must be turned off. When using a DAW, like Ableton Live for example, you will need to disable the UNO Synth as a general MIDI controller in the Ableton Live Preferences. This will allow the UNO Synth Editor to access your UNO Synth device.
Try these steps to get started with Ableton
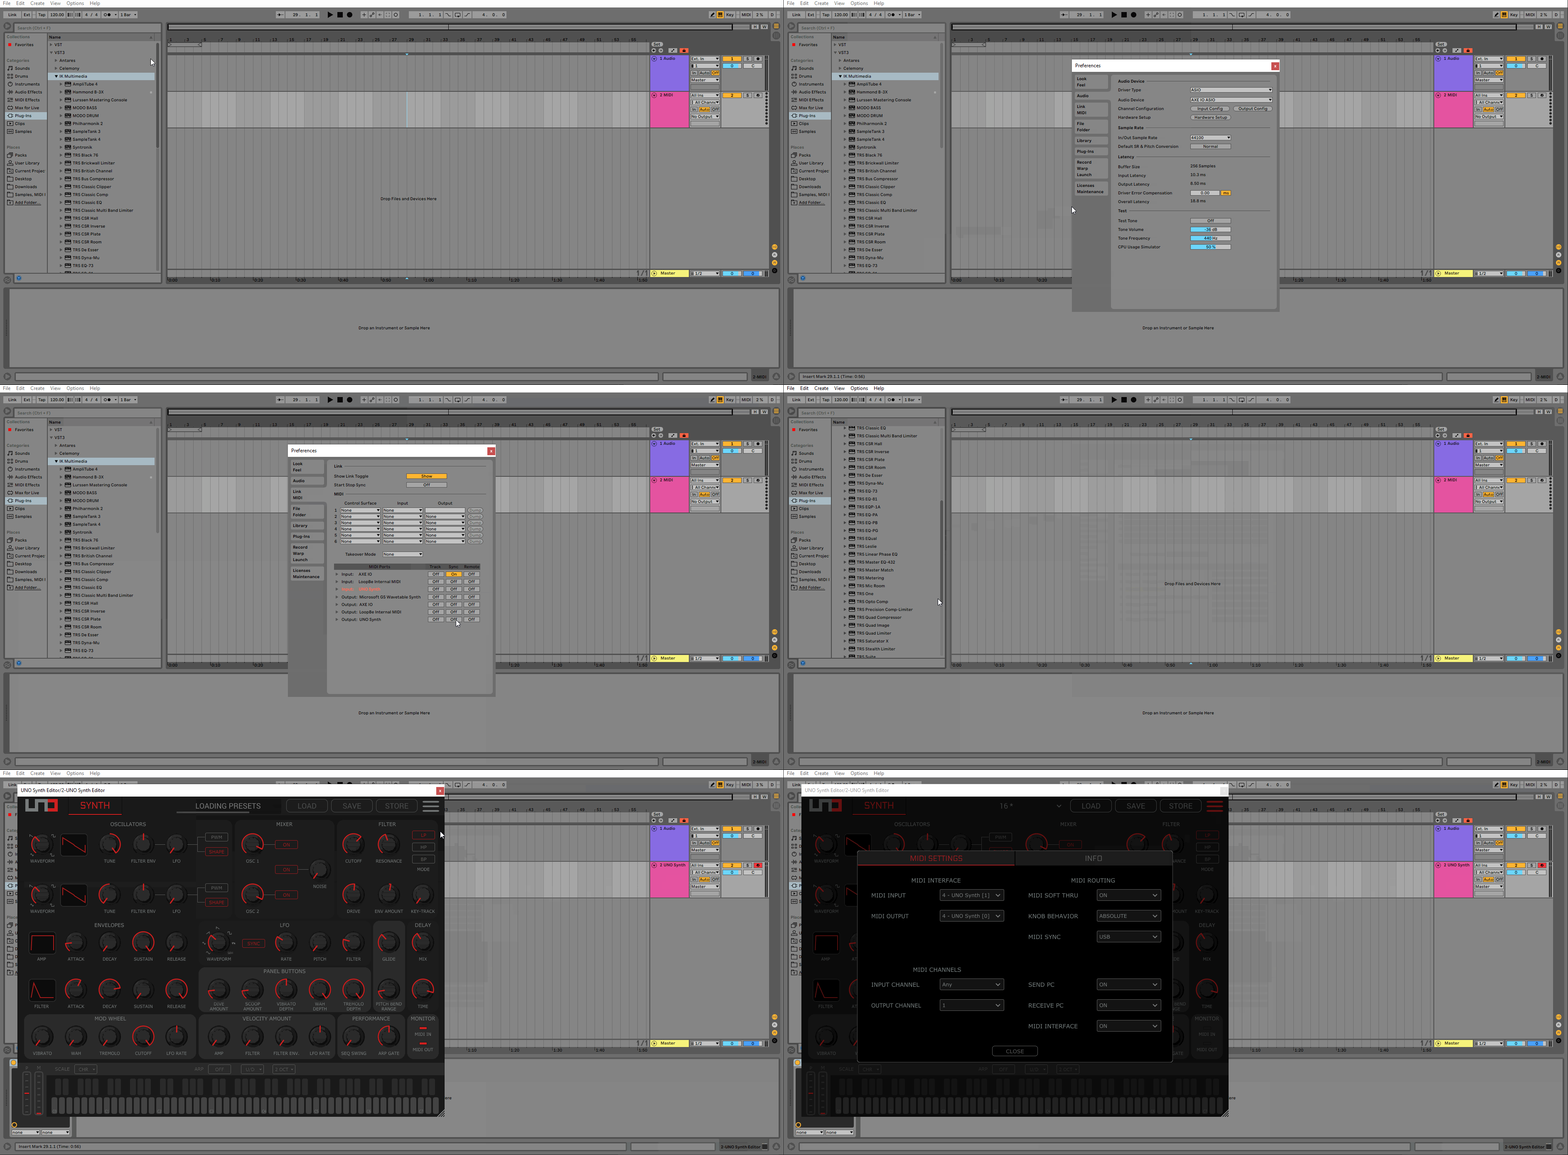
- Open Ableton Live and create a new session
- Go to the Preferences window and access the MIDI tab
- Inside this window, disable the UNO Synth IN and OUT options for TRACK, SYNC, and REMOTE
- Once disabled in your Ableton Live Preferences, open an instance of UNO Synth Editor on a MIDI track.
- Inside the UNO Synth Editor, select the IN and OUT options as your UNO Synth. The UNO Synth will automatically connect to the Editor.
- Once your see your Preset names appear, you are good to go.
Important: When the UNO Synth appears in red text in the UNO Synth Editor, this means another program is accessing it. Disabling the UNO Synth in the Ableton Live preferences should help this, but make sure any other MIDI capable programs are closed. When the UNO Synth appears red, you may need to re-select the UNO Synth or power the unit off and back on again. This will kick-start the selection. If “UNO Synth Disconnected” appears in the UNO Synth Editor, simply delete this plug-in instance and add in a new one.
- Set the MIDI Channel in your UNO Synth Editor and UNO Synth to the same values. In the UNO Synth Editor, this option is in Settings. On the UNO Synth hardware, this will be accessed by tapping the ALT button, then the MIDI key (A#2). This will ensure your UNO Synth and Editor can communicate back and forth properly.
- Set the MIDI Clock Source to the proper setting. Use INT when using the UNO Synth as your MIDI Clock source. Use the USB option for any MIDI Clock coming into the UNO Synth from the USB port. Use EXT when sending MIDI Clock via the 2.5mm MIDI connectors on the back of your unit. Remember, if no MIDI Clock source is present, the Arpeggiator and Sequencer on your UNO Synth will not be able to playback properly.

Important: On Windows, to use the USB option in this example, you must enable the Ableton Live Preferences “Sync” option for the UNO Synth IN and OUT. This would disconnect you from the UNO Synth Editor. To use the UNO Synth with the Editor and Ableton Live as a general MIDI controller, you can use the 2.5mm MIDI ports on the back of the UNO Synth to connect to Ableton Live, and the USB to connect to the UNO Synth Editor.
If you still need help after reading this FAQ, contact our support team here.
FAQ ID: 1280